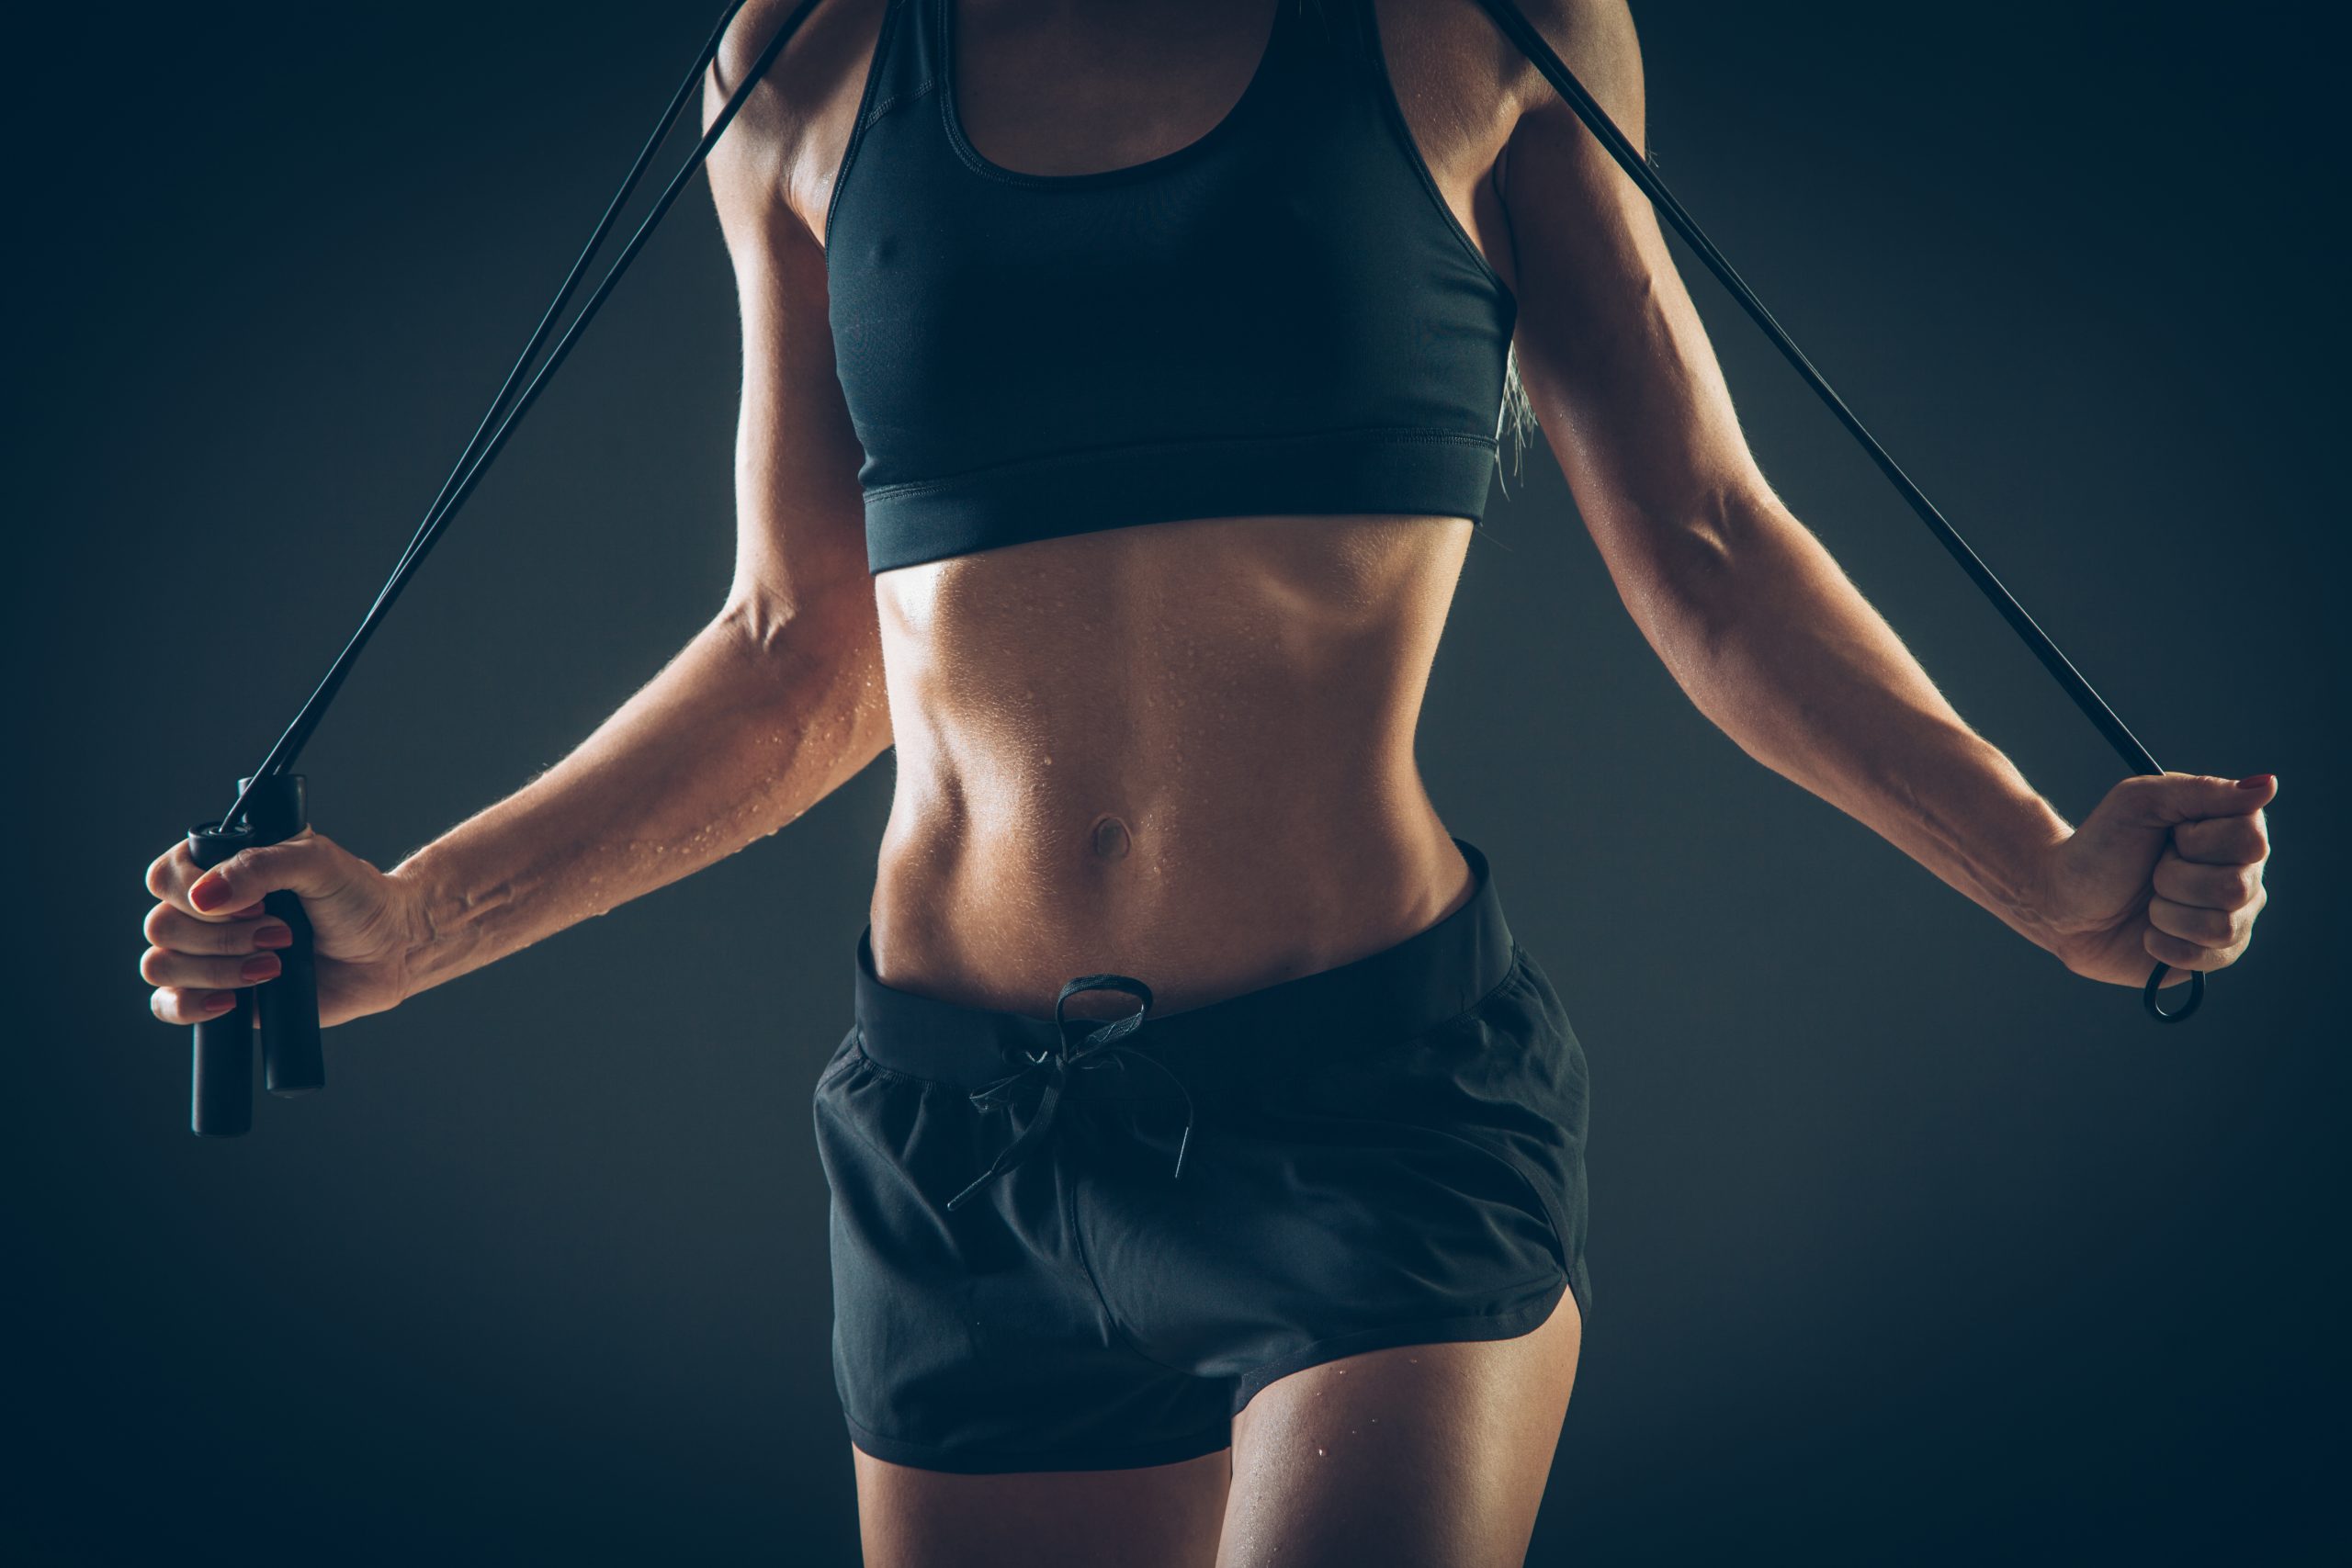
The fact of the matter is that skipping rope takes time to learn. It takes practice. It requires great overall coordination and timing. On top of that, it demands excellent cardiovascular fitness and mental focus.
With that being said, when you’re first starting out, you want to make things as easy as you can for yourself. This includes fitting yourself with the right style and length of rope.
Types of Skipping Ropes
One of the common questions I’ve been asked is what type of rope I use. Here’s the thing. Jump ropes are like candy bars (bad comparison, I know). They come in all shapes, sizes, colors, and lengths. There is an unlimited range of choices.
Here is a list of some of the most common types of skipping ropes you’ll see:
1. Fabric Jump Rope

Also known as ‘braided’ or ‘cotton’ jump ropes, these are the simplest of the bunch. They are super cheap and are usually made of either cotton or nylon cords, which are then braided (giving them their name). These ropes rotate very slowly as they create a lot of drag. They may or may not come with handles. This is for the ultimate beginner and often only for children. Be aware that you will outgrow this type of rope very quickly.
2. Beaded Jump Rope

These ropes are made of plastic beads that are strung on a piece of thin nylon. These are very common in elementary schools due to their cheap nature, as well as competitions due to their high visibility and beautiful array of patterns that are created when they turn at fast speeds. These ropes are also super cheap and last long on rough surfaces. They have a very loud clanking sound when they hit the ground so they can be useful for improving your timing. If you’re looking for this type of rope, just make sure the handles are of high quality.
3. Leather Jump Rope

These are classic ropes that have been used by boxers for generations. The ‘rope’ is basically a strip of leather attached to either plastic or wooden handles. They are heavier than fabric jump ropes and they turn faster than both fabric and beaded ropes. They are not for beginners for a few reasons: if you mess up, be ready for pain (just imagine getting whipped by leather-ouch!); if it gets wet, it will shrink, and lastly they are prone to twisting. This rope is awesome but it’s definitely more for advanced skippers.
4. Plastic (Speed) Jump Rope

Also known as speed ropes, these ropes are very popular. They’re typically made of PVC and are very light and inexpensive. They keep their shape very well and don’t tend to twist up. The thickness of the rope can vary, but they are all pretty long lasting (unless you keep them in the sun often). You can pick up very good speed with these ropes which, in combination with their low price, makes them very popular.
5. Weighted Jump Rope

Weighted ropes are designed to give you a better upper body workout than other kinds of jump ropes. From my experience, they’re really effective for building grip strength. Weighted ropes come in two types: either the handles are weighted or the rope itself is weighted. Most weighted ropes have a thick plastic-coated cable and can weigh up to 5lbs. A word of warning: if you mess up, you’ll get a beating. These ropes are only recommended for advanced skippers and are the most expensive of the bunch.
6. Wire Jump Rope

Also known as cable jump ropes, these are designed for pure speed enthusiasts. The rope is a piece of wire and you can generate some crazy speed with thing. It’s the most durable rope and also the most painful. They are not very expensive but are only recommended for hardcore jumpers.
You can see that there are many types to choose from. I own a number of these, but that’s because I love this stuff! If you’re just getting started, you will likely want to start on the low end of the cost spectrum and work your way up to more advanced ropes as you progress in your skipping.
Other Factors that You Will Want to Consider
The Design of the Handle
The handle itself can be of varying lengths, thicknesses, weights, and shapes. Which one you choose really depends on your personal preference.
For example, long handles are better for freestyle skipping (utilizing a lot of arm movements), thicker handles provide better grip, weighted handles engage the forearms more, and different shapes cater to easier handling. It all comes down to preference. If you can, try out a few different styles and see what works for you.
The most important thing to look at is how the handle is connected to the rope. You want to choose a rope that allows the cable to spin freely within the handles as you skip. If the cable cannot spin freely, it will start to twist up and make life extremely difficult.
There are many designs out there. The most common design comes with cheaper plastic ropes and is a simple washer connected to the end of the rope that can spin freely inside the handle. These work well but do not last very long if the rope is used frequently.
Some ropes use simple triangular hooks. These are common for cloth ropes connected to wooden handles. However, I have seen them on other ropes. I would avoid cloth ropes in general, but the hook system seems to work well.
A lot of modern ropes now utilize ball bearings for the connection. These ball bearings are typically built inside the handle (making them slightly heavier), although some utilize a ball bearing and swivel system. Ball bearings, in general, create smooth rotations of the rope as you skip. Some people think ball-bearing designs are garbage because they tend to stick, but I haven’t had any problems with them. They last much longer than the simple washer connection, but they do come at a higher price.
My recommendations: with advancements in technology, there are a lot of unique innovations in this area. If you’re just starting out, a simple plastic skipping rope with a decent washer system is good enough. However, as you get better and skip for longer periods at a time, you’ll want to move to a ball-bearing system (or other higher-quality connection).
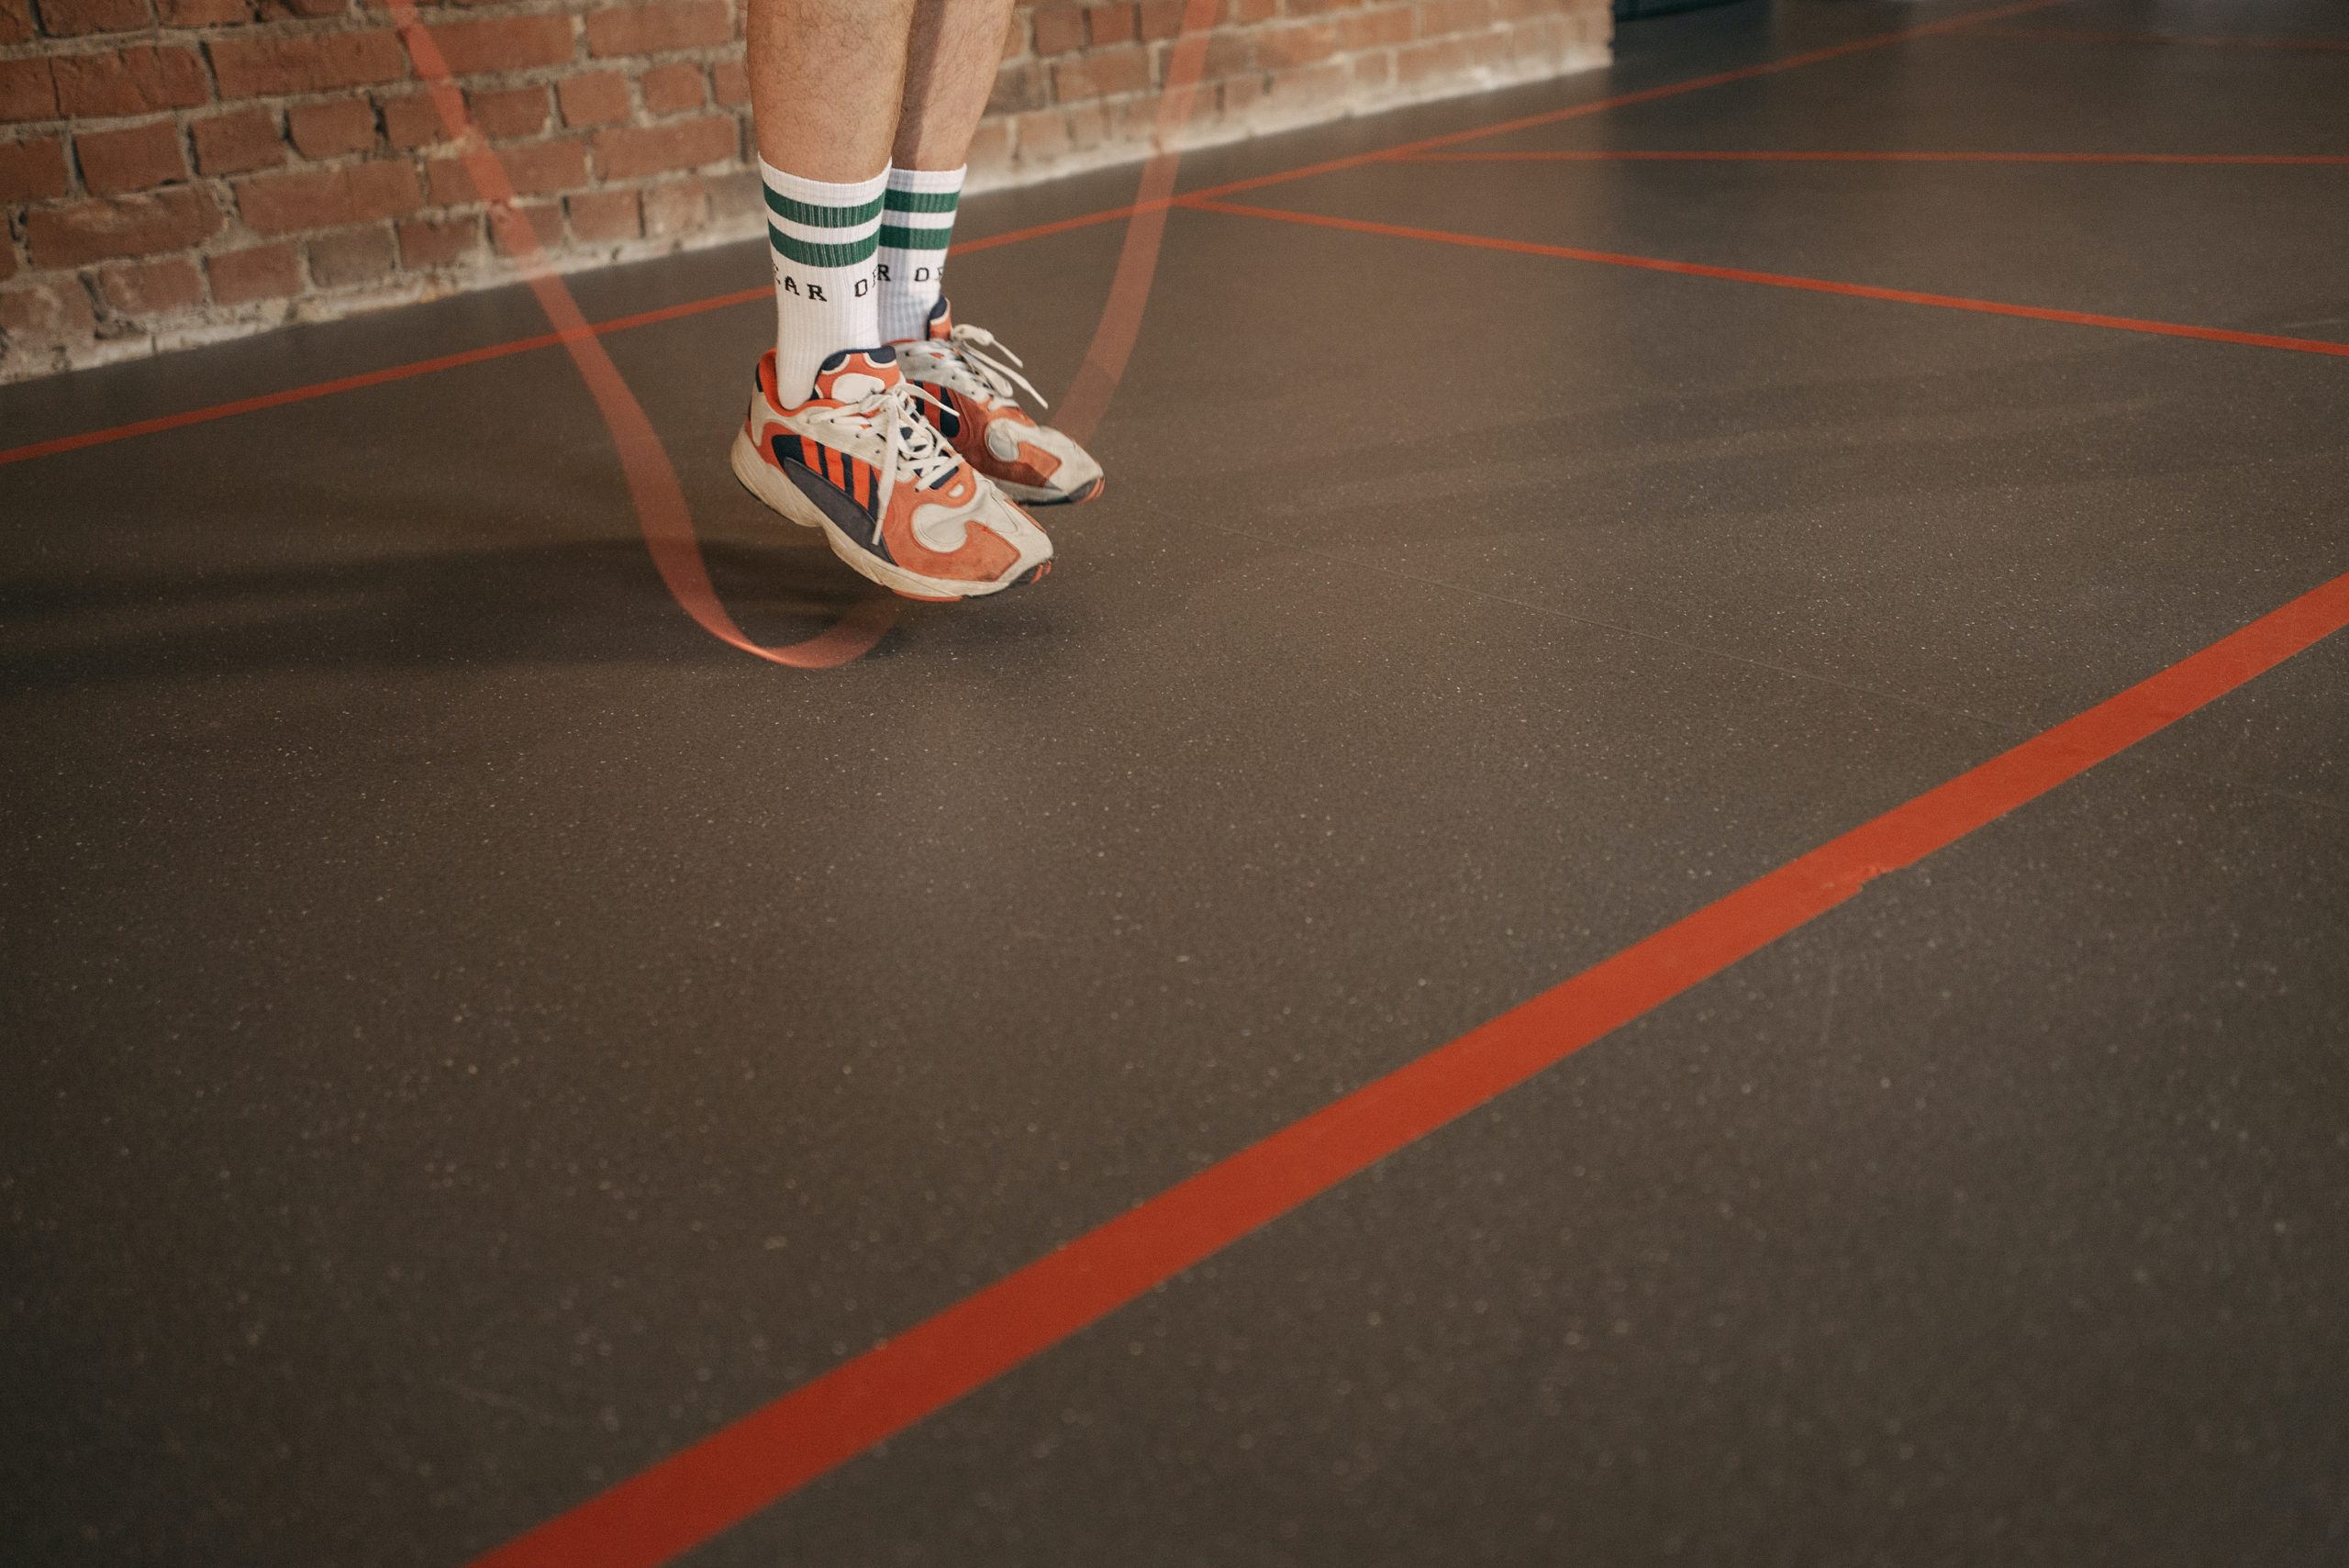
Picking the Right Length of Rope
This is also another very common question that has come up. How do you pick the right size of rope for your height?
Finding the right length of rope is very important. If the rope is too long or too short, you’ll be forced to change up your mechanics to avoid constantly tripping yourself up. Ropes that are too short force you to keep your arms too low and allow very little room for error. Ropes that are too long make skipping difficult because the rope hits the ground too far in front of your body causing it to catch your heels.
Both situations suck, so to minimize frustration and improve your skipping efficiency, it’s imperative that you find a rope that is the perfect length for you.
Here are some general guidelines for picking the right size of rope:

Note that these are just general guidelines. The final length of your rope will usually depend on where you hold your rope as you skip. You’ll probably want to start with the rope size recommended in the chart, then try it and others to make necessary modifications.
I like to use the following steps to ensure that I have the right length of rope:
- Stand with your feet shoulder-width apart,
- Put the rope underneath one foot and pull the handles up to your chest,
- The ends of the rope (not the handles) should be roughly at the level of your nipples/base of your chest.
Here’s a video that quickly outlines this process:
You can see that it’s easy to make simple modifications to your rope if it’s too long.
As you become more proficient with jumping rope, you can play around with different lengths of rope. For example, I like to use shorter ropes when I’m doing double unders because I can turn the rope faster. But, naturally, this provides very little room for error.